Have you ever been working across multiple screens, deep in a coding session with Claude Code running in the background, only to realize 10 minutes later that it’s been waiting for your input? Or worse, walked away for coffee while Claude was crunching through a complex task, missing the exact moment it needed your decision?
I’ve been there. And that’s why I built this.
The Problem: Missing Your AI Assistant’s Call
Claude Code is incredibly powerful for software development. It can refactor codebases, implement features, fix bugs, and even plan entire architectures. But there’s a catch: it’s all happening in a terminal window. When Claude needs your input—whether it’s answering a question, approving a plan, or confirming a file change—it waits silently in that terminal.
If you’re:
- Working on another monitor
- Reviewing documentation in your browser
- Testing your app in a different window
- Or simply grabbing a coffee during a long-running task
…you might completely miss the notification. The terminal doesn’t beep. Your taskbar doesn’t flash. Claude just… waits.
The Solution: A Physical Notification Device
What if your AI coding assistant had a physical presence on your desk? Something that could:
- Show you its current status at a glance
- Alert you with sound when it needs attention
- Look cool while doing it
Enter the Claude Code Monitor: a $20 ESP32-powered notification device that bridges the digital and physical worlds.
What Makes This Project Special
This isn’t just another IoT notification gadget. This project embodies something bigger: the intersection of AI tools and physical computing. As we increasingly work alongside AI assistants, having tangible feedback creates a more intuitive, human workflow.
Plus, it’s surprisingly fun to build, endlessly customizable, and powered by MicroPython—which means you can hack on it without ever touching a compiler.
The Feature Set
Visual Feedback:
- 128x64 OLED display showing Claude’s current status
- Status types: IDLE, RUNNING, WAITING, COMPLETED, ERROR
- Optional idle animations (more on this later!)
- Minimal or full display modes
Audio Alerts:
- 21+ built-in melodies including Super Mario Bros, Star Wars Imperial March, Nokia ringtone, Tetris, Mission Impossible, and more
- Different sounds for different status types
- Configurable repeat counts and note spacing
- Or keep it simple with short, minimal beeps
Visual Indicator:
- Optional red LED that flashes when WAITING status is active
- Syncs with display for maximum visibility
Smart Integration:
- Automatically connects via Claude Code hooks
- No manual commands needed—just use Claude normally
- Updates in real-time over WiFi
- Web interface for testing (http://[device-ip])
Maker-Friendly:
- MicroPython firmware (no compilation!)
- Edit code directly on the device
- Update over WiFi with WebREPL
- Interactive REPL for live debugging
How It Works: The Technical Journey
The architecture is beautifully simple:
┌──────────────┐     ┌─────────────┐     ┌──────────┐
│ Claude Code  │────▶│ Hook Script │────▶│  ESP32   │
│              │     │  (Python)   │     │ (WiFi)   │
└──────────────┘     └─────────────┘     └────┬─────┘
                                              │
                                              ▼
                                    ┌─────────────────┐
                                    │ Display │ Sound │ LED │
                                    └─────────────────┘
Claude Code Side: Claude Code has a hooks system that can execute scripts on certain events—when you start a session, when Claude uses a tool, when it needs permission, etc.
Hook Script:
A lightweight Python script (claude_hook.py) that gets called by these hooks. It receives the event type and sends an HTTP POST request to your ESP32.
ESP32 Device:
- Runs MicroPython (not Arduino C++)
- Hosts a web server listening for status updates
- Updates the OLED display
- Triggers appropriate sounds via the piezo buzzer
- Flashes the LED when needed
- Shows idle animations when inactive
Why MicroPython?
I chose MicroPython over traditional Arduino C++ for several compelling reasons:
✅ Zero compilation - Flash once, then edit Python files directly ✅ Remote updates - Change code over WiFi using WebREPL ✅ Interactive REPL - Test code in real-time, perfect for debugging ✅ Familiar syntax - If you know Python, you’re 90% there ✅ Immediate feedback - See errors instantly, no upload/compile cycle ✅ Rapid iteration - Changes take seconds, not minutes
This makes the project incredibly accessible to Python developers who might be intimidated by embedded C programming.
Building Your Own: A Step-by-Step Guide
One of my goals with this project was to make it accessible. You don’t need a degree in electrical engineering or a workshop full of tools. Just about $20 in components and 15 minutes.
Shopping List
Required Components (~$15-25 USD):
| Component | Purpose | Approx Cost |
|---|---|---|
| ESP32 Development Board | Brain of the operation | $5-10 |
| SSD1306 OLED Display (128x64, I2C) | Status display | $3-5 |
| Piezo Buzzer | Audio alerts | $1 |
| Breadboard | Prototyping platform | $3 |
| Jumper Wires | Connections | $2 |
| USB Cable | Power & programming | $2 |
Optional:
- Red LED (5mm) + 220Ω resistor: Visual waiting indicator (~$0.50)
Pro tip: You can get an ESP32 starter kit on AliExpress for around $12 that includes most of these components. I also recommend getting a breadboard terminal adapter (about $2) for cleaner connections.
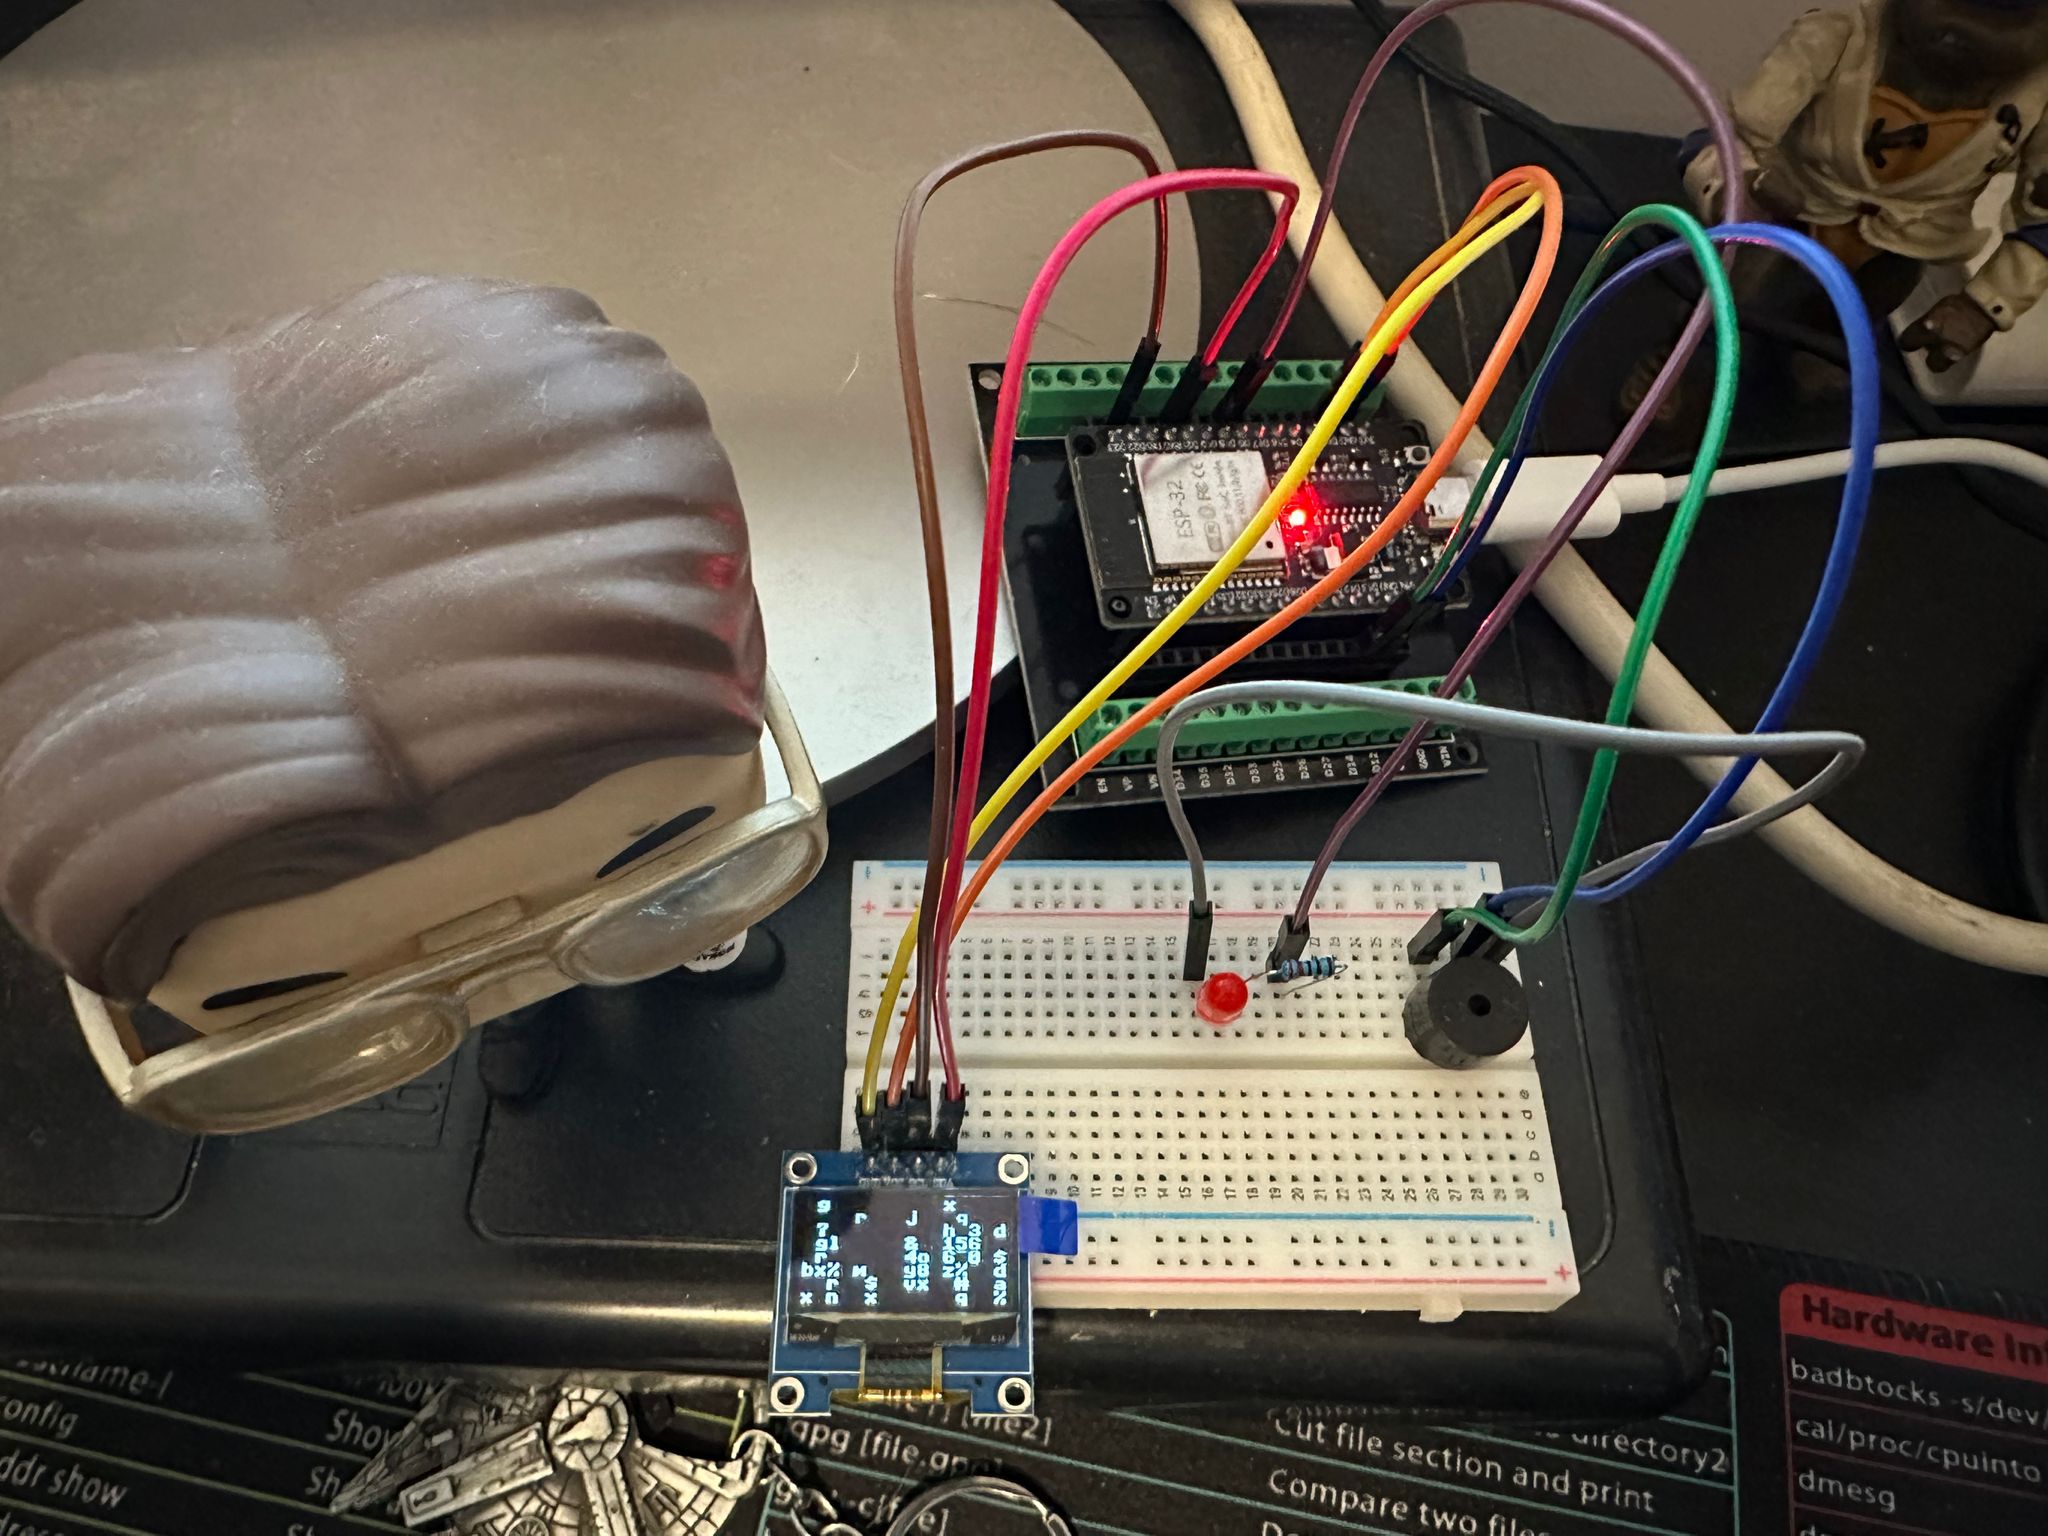
The Wiring
Don’t worry—the wiring is straightforward. Here’s exactly how everything connects:
OLED Display (SSD1306) to ESP32:
OLED VCC  →  ESP32 3.3V
OLED GND  →  ESP32 GND
OLED SCL  →  ESP32 GPIO 22
OLED SDA  →  ESP32 GPIO 21
Piezo Buzzer to ESP32:
Buzzer +  →  ESP32 GPIO 13
Buzzer -  →  ESP32 GND
Optional Red LED:
ESP32 GPIO 5  →  220Ω Resistor  →  LED Anode (+)
LED Cathode (-)  →  ESP32 GND
Power:
ESP32 USB → Computer or 5V power adapterNote: If you’re using a blue or white LED instead of red, use a 100-150Ω resistor instead of 220Ω.
Software Setup: Four Simple Steps
Step 1: Flash MicroPython to ESP32 (5 minutes)
First, we need to install MicroPython firmware on the ESP32.
# Install the flashing tool
pip install esptool

# Download MicroPython firmware
# Visit: https://micropython.org/download/esp32/
# Get the latest stable .bin file

# Flash the ESP32 (replace COM3 with your port)
# On Mac: /dev/cu.usbserial-*
# On Linux: /dev/ttyUSB0
# On Windows: COM3, COM4, etc.

esptool.py --chip esp32 --port COM3 erase_flash
esptool.py --chip esp32 --port COM3 write_flash -z 0x1000 esp32-firmware.bin
Important: You may need to hold the BOOT button on your ESP32 during flashing. See this excellent guide if you run into issues.
Step 2: Install Thonny IDE (2 minutes)
Thonny is the easiest way to work with MicroPython devices.
- Download from https://thonny.org
- Install and open Thonny
- Go to
Tools → Options → Interpreter - Select “MicroPython (ESP32)”
- Choose your COM port from the dropdown
You should now see a MicroPython REPL in the bottom panel. Try typing:
>>> print("Hello from ESP32!")Step 3: Configure & Upload Files (3 minutes)
Clone or download the project repository, then:
1. Edit your WiFi credentials
Open src/config.py and update:
WIFI_SSID = "YourWiFiNetworkName"
WIFI_PASSWORD = "YourWiFiPassword"
Important: ESP32 only supports 2.4GHz WiFi networks, not 5GHz.
2. Upload files to ESP32
In Thonny, use File → Save As → MicroPython device for each of these files:
Required files:
boot.py- Runs at startupsrc/config.py- Your configured settingssrc/ssd1306.py- OLED display drivermain.py- Main application
Optional files (for customization):
src/melodies.py- 21+ melody librarysrc/animation_*.py- Various idle animations
3. Reset the ESP32
Press the RESET button on your ESP32 board (or click STOP in Thonny).
You should see the boot animation, then the device connecting to WiFi. The OLED will display the ESP32’s IP address once connected.
Step 4: Configure Claude Code Hooks (2 minutes)
Now we connect Claude Code to your device:
# Navigate to the project directory
cd /path/to/esp32-claude-monitor

# Run the setup script with your ESP32's IP address
python setup/setup_hooks.py --esp32-ip 192.168.1.XXX

# Restart your shell to load the new environment
source ~/.bashrc  # Or ~/.zshrc for Zsh users

# Test the integration
python test_system.py --interactive
The setup script automatically:
- Installs the hook script to your system
- Configures Claude Code hooks in
~/.claude/settings.json - Sets up environment variables
- Creates the monitor configuration
Done! Test It Out
That’s it! Your device is now fully integrated with Claude Code.
Try running a Claude command:
claude "explain how async/await works in Python"Watch your ESP32:
- Status changes to RUNNING → Single beep
- Display shows “Working…”
- When Claude needs input → Status changes to WAITING
- Configured melody plays (e.g., Star Wars Imperial March)
- LED flashes red
- Display shows “User input needed”
Customization Paradise: Make It Yours
This is where the project gets really fun. Almost everything is customizable via the src/config.py file.
Audio Customization: 21+ Melodies
Want your device to play the Super Mario Bros theme when Claude needs attention? Or keep it minimal with a simple beep?
Edit src/config.py:
# Classic game & movie themes
WAITING_MELODY = "super_mario"        # Super Mario Bros theme
WAITING_MELODY = "star_wars"          # Imperial March (dramatic!)
WAITING_MELODY = "mission_impossible" # For urgent tasks
WAITING_MELODY = "tetris"             # Classic Tetris theme
WAITING_MELODY = "zelda_secret"       # That magical discovery sound
WAITING_MELODY = "pacman"             # Wakka wakka intro

# Nostalgic ringtones
WAITING_MELODY = "nokia"              # Nokia classic ringtone
WAITING_MELODY = "windows_xp"         # Windows XP startup

# Quirky options
WAITING_MELODY = "pink_panther"       # Jazzy and playful
WAITING_MELODY = "jingle_bells"       # Festive! (yes, even in July)
WAITING_MELODY = "happy_birthday"     # Celebrate your code

# Short & sweet (less annoying for frequent notifications)
WAITING_MELODY = "short_waiting"      # Quick 3-note ascending
WAITING_MELODY = "minimal_triple"     # Three ultra-brief beeps
WAITING_MELODY = "minimal_beep"       # Single 100ms beep

# Keep it classic
WAITING_MELODY = "default"            # Original simple tones
You can set different melodies for each status type:
WAITING_MELODY = "star_wars"      # Dramatic attention needed
ERROR_MELODY = "default"          # Low urgent beeps
COMPLETED_MELODY = "default"      # Happy ascending tones
RUNNING_MELODY = "default"        # Single short beep
Customize the playback:
WAITING_MELODY_REPEATS = 2 # Play the melody twice (1-3 recommended)
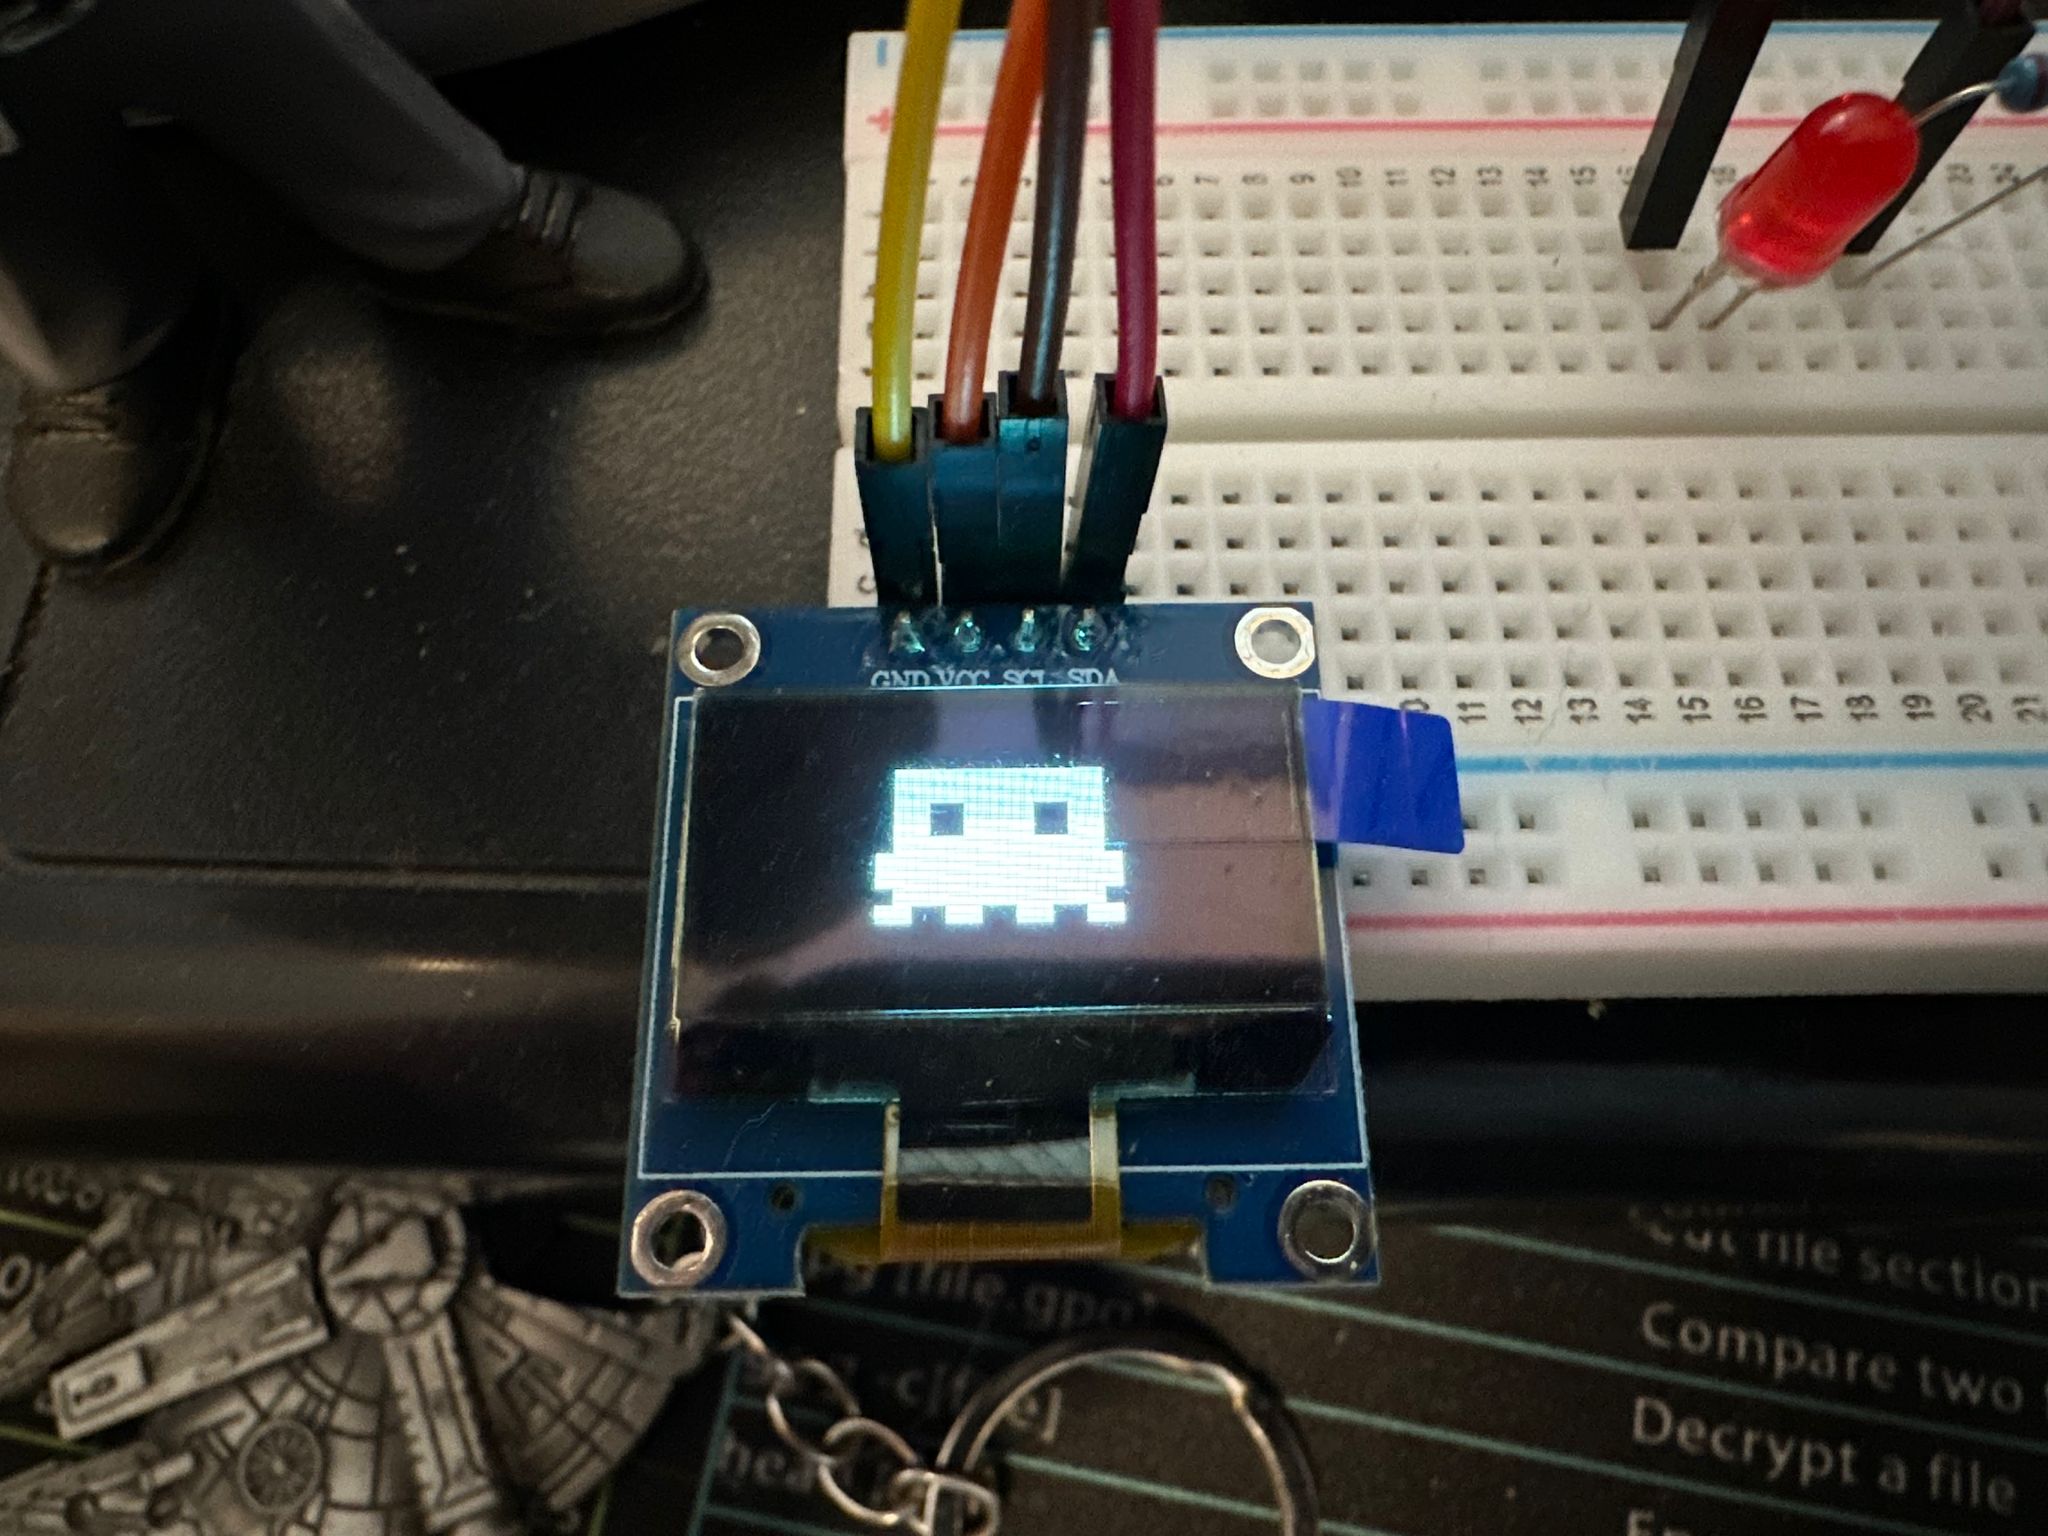
NOTE_GAP_MS = 40 # Gap between notes (reduces harshness)Visual Animations: 8+ Idle Displays
When Claude is idle for 30 seconds (configurable), the device can show screensaver-like animations.
Available animations:
# Matrix-style code rain with character glyphs and flickering
IDLE_ANIMATION = "matrix"

# Conway's Game of Life cellular automaton
IDLE_ANIMATION = "life"

# Particle system with launching fireworks and explosions
IDLE_ANIMATION = "fireworks"

# Cascading pixel rain (simpler, faster Matrix variant)
IDLE_ANIMATION = "starfield"

# Digital clock with date display
IDLE_ANIMATION = "clock"

# Whimsical made-up words inspired by Claude Code
IDLE_ANIMATION = "whimsy"

# Classic bouncing ball screensaver
IDLE_ANIMATION = "bounce"

# Random moving dots with physics
IDLE_ANIMATION = "dots"

# No animation, just blank screen
IDLE_ANIMATION = "none"
Customize animation behavior:
# How long until animation starts (milliseconds)
IDLE_TIMEOUT_MS = 30000  # 30 seconds

# Completely disable idle animations
ANIMATION_ENABLED = False
Animation-specific parameters:
Each animation has its own customization options:
ANIMATION_PARAMS = {
    "dots": {
        "dot_count": 20,  # Number of bouncing dots
    },
    "bounce": {
        "ball_size": 4,  # Size of the ball in pixels
    },
    "clock": {
        "format_24h": True,      # 24-hour vs 12-hour format
        "use_large_font": True,  # Larger, more readable font
    },
    "fireworks": {
        "max_fireworks": 3,  # Concurrent fireworks
    },
    "life": {
        "cell_size": 2,          # Cell size in pixels (1, 2, or 4)
        "initial_density": 0.3,  # How crowded the initial grid is
    },
    "whimsy": {
        "word_interval": 2500,  # Time per word (ms)
        "dot_interval": 400,    # Animation speed
    }
}
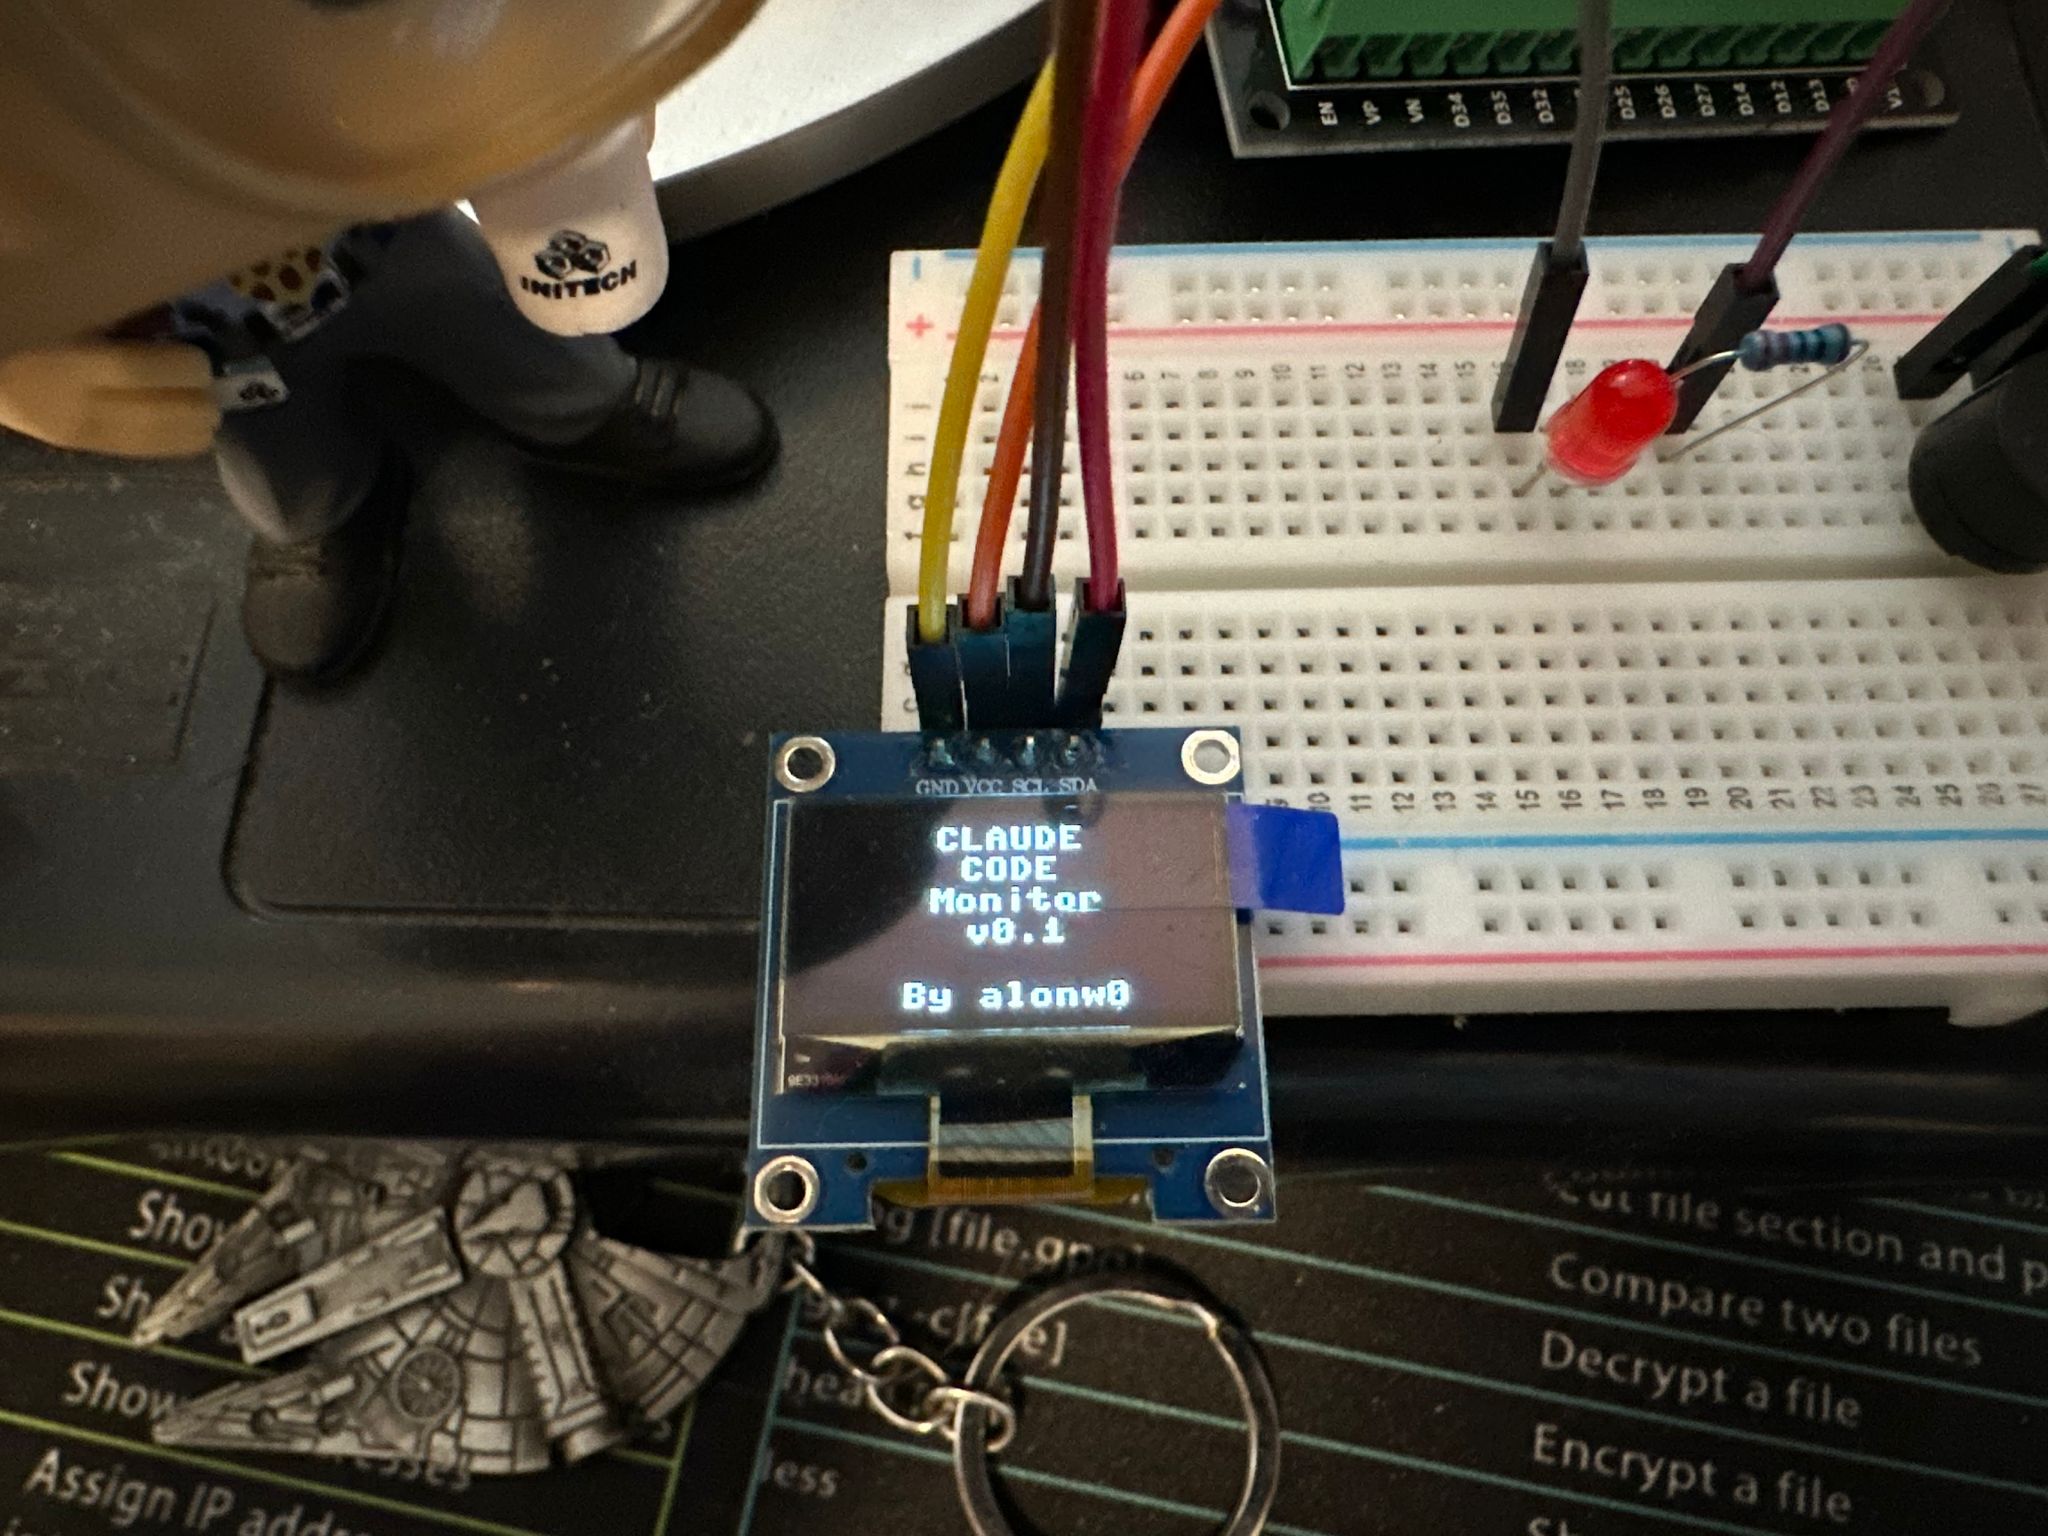
Boot Animations
Choose what plays when the device starts:
# Claude starburst logo with rotating loading spinner
BOOT_ANIMATION = "logo"

# ASCII alien mascot with walking animation
BOOT_ANIMATION = "alien"
Display Modes
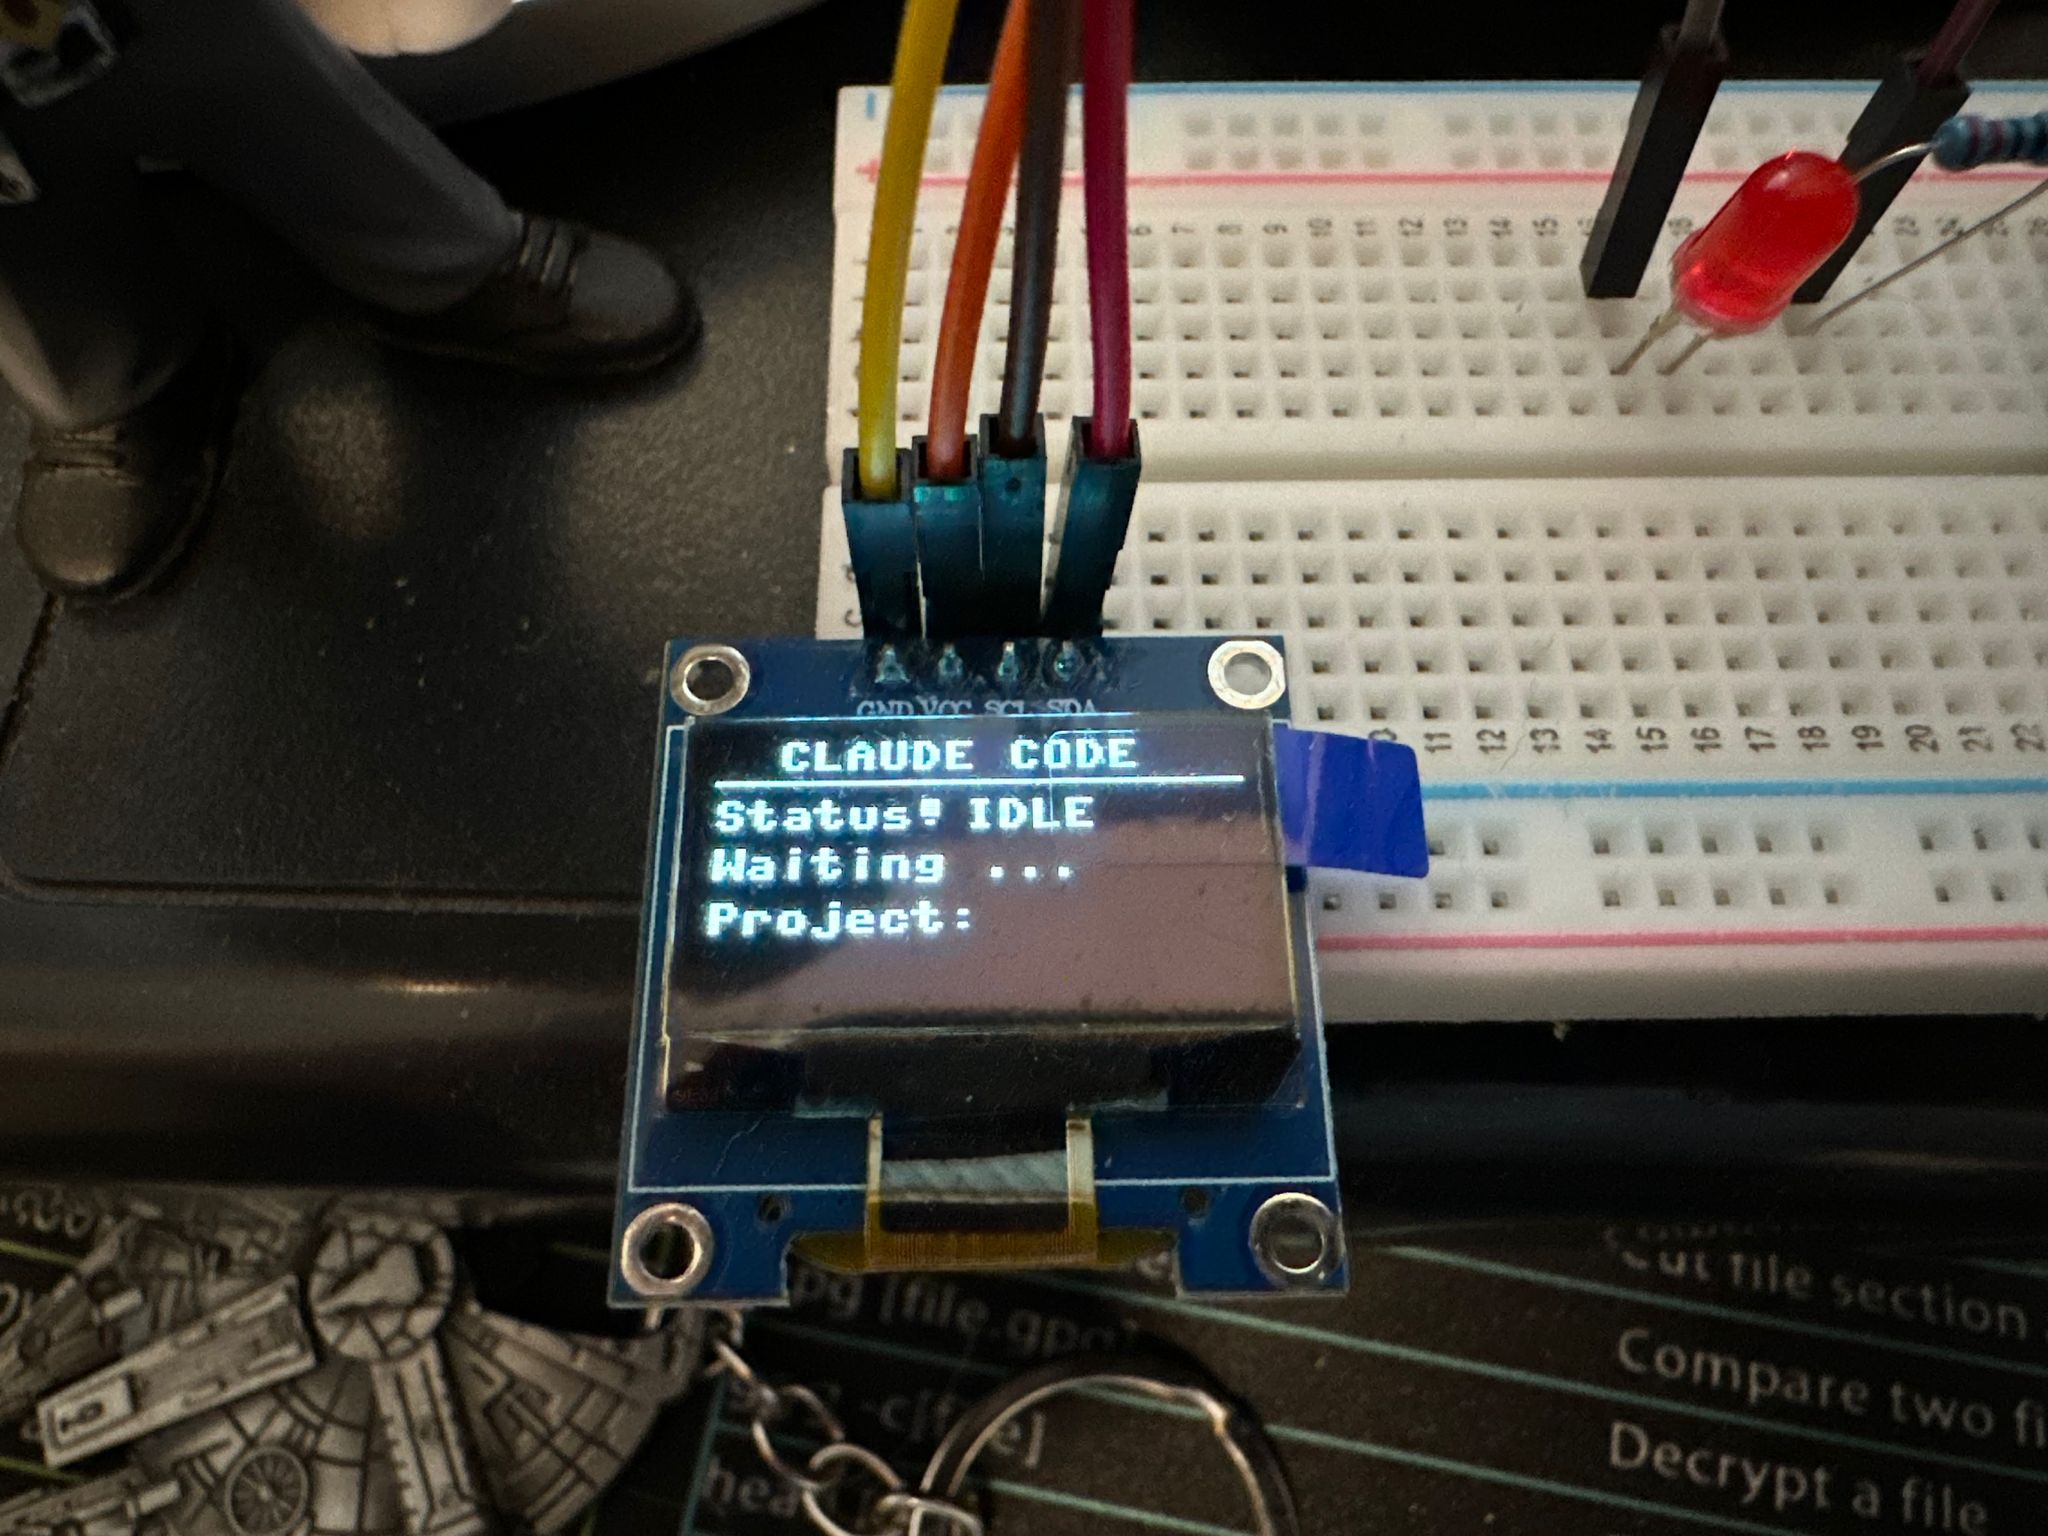
Full Display Mode (default):
┌────────────────────────┐
│ CLAUDE CODE            │
├────────────────────────┤
│ Status: ● WAITING      │
│ User input needed...   │
│                        │
│ Deploy app             │
└────────────────────────┘
Minimal Display Mode:
┌────────────────────────┐
│                        │
│                        │
│      WAITING           │
│                        │
│                        │
└────────────────────────┘
Enable minimal mode:
MINIMAL_DISPLAY_MODE = True # Just the status, centeredLED Indicator
Toggle the red LED or change its pin:
LED_ENABLED = True   # Enable/disable the LED
LED_PIN = 5          # GPIO pin (change if needed)
Hardware Customization
Need to change pin assignments? No problem:
# GPIO Pins
BUZZER_PIN = 13      # Buzzer
LED_PIN = 5          # Red LED
OLED_SDA = 21        # I2C data
OLED_SCL = 22        # I2C clock

# I2C Display
OLED_ADDR = 0x3C     # Try 0x3D if display doesn't work

# Server
WEB_PORT = 80        # HTTP server port
The Magic of Physical Feedback
There’s something deeply satisfying about physical notifications in our increasingly digital world. When that LED starts flashing and the Star Wars Imperial March plays from your desk, you don’t just see a notification—you feel it. You hear it. It has presence.
This isn’t just nostalgia for physical gadgets. It’s about creating a more intuitive workflow. Your peripheral vision catches the flashing LED. Your ears pick up the melody even when you’re focused elsewhere. The device becomes a physical extension of your AI assistant.
And the customization aspect? That’s where the real joy lives. Want the Mission Impossible theme for important projects? A gentle chime for background tasks? The Super Mario power-up sound when tasks complete? Go for it. This is your device. Make it yours.
Tips, Tricks, and Best Practices
Melody Recommendations
Based on my experience, here are my favorite setups:
For focused work sessions:
WAITING_MELODY = "minimal_triple"  # Brief, not distracting
WAITING_MELODY_REPEATS = 1
For background monitoring:
WAITING_MELODY = "star_wars"  # Dramatic, hard to miss
WAITING_MELODY_REPEATS = 2
For fun:
WAITING_MELODY = "super_mario"
WAITING_MELODY_REPEATS = 1
Ideal Timeout Settings
# If you often step away briefly:
IDLE_TIMEOUT_MS = 15000  # 15 seconds

# If you want animations only during real breaks:
IDLE_TIMEOUT_MS = 60000  # 1 minute

# If you find animations distracting:
ANIMATION_ENABLED = False
Testing Without Claude Code
Use the built-in web interface:
http://192.168.1.XXXYou’ll see buttons to trigger each status type—perfect for testing new melodies or animations.
Or use the Python test script:
python test_system.py --interactiveRemote Updates with WebREPL
Want to tweak settings without a USB cable?
One-time setup (via USB/Thonny):
import webrepl_setup
# Follow prompts, set a password
Then from your browser:
- Go to: http://micropython.org/webrepl/
- Connect to:
ws://192.168.1.XXX:8266 - Enter your password
- Upload new config or code files
- Press
Ctrl+Dto soft-reset the ESP32
Troubleshooting Common Issues
Display is blank:
- Check I2C wiring (SDA to GPIO 21, SCL to GPIO 22)
- Try changing
OLED_ADDR = 0x3Din config.py - Verify 3.3V power connection
Won’t connect to WiFi:
- Double-check SSID and password in config.py
- Ensure you’re using 2.4GHz WiFi (ESP32 doesn’t support 5GHz)
- Try moving ESP32 closer to router
No sound from buzzer:
- Check buzzer polarity (+ to GPIO, - to GND)
- Try connecting buzzer to 3.3V briefly to test if it works
- Verify
BUZZER_PINsetting in config.py
Hook script isn’t triggering:
- Verify ESP32 IP address
- Ensure both devices are on the same network
- Try
python test_system.py --quick --esp32-ip YOUR_IP - Check
~/.claude/settings.jsonfor hooks configuration
What’s Next? Future Enhancements
The beauty of this project is its extensibility. Here are some ideas I’m considering (or you might want to implement):
Power & Portability:
- Add a lithium battery and charging circuit
- Implement deep sleep mode for battery efficiency
- Make it wireless and portable
Enhanced Feedback:
- RGB LED for color-coded status (green=running, red=waiting, etc.)
- Multiple buzzers for directional sound
- E-ink display for power-free persistence
Interactivity:
- Buttons to acknowledge alerts or send commands
- Rotary encoder to scroll through status history
- Touch sensor to wake from sleep
Expanded Integration:
- MQTT for home automation integration (“Alexa, is Claude waiting?”)
- Multiple device support (one monitor for each project)
- Integration with other development tools (CI/CD, testing frameworks)
Data & Logging:
- SD card for logging status history
- Temperature/humidity sensor (why not?)
- Track how much time Claude spends in each state
Physical Design:
- 3D-printed enclosure
- Desk stand or wall mount
- Cable management
The MicroPython foundation makes all of these remarkably accessible. No recompiling, no complex toolchains—just edit Python and go.
Conclusion: AI Meets Physical Computing
This project started as a simple solution to a specific problem: missing Claude Code notifications. But it evolved into something more interesting—a tangible bridge between AI tools and the physical world.
As AI assistants become more integrated into our workflows, projects like this remind us that computing doesn’t have to be purely digital. There’s value in physical feedback, in seeing and hearing your tools at work, in the satisfaction of building something with your hands that makes your digital life better.
The total investment? About $20 and an hour of your time. The payoff? Never missing a Claude Code notification again, a fun desk conversation starter, and a platform for endless tinkering.
Plus, there’s something genuinely delightful about hearing the Imperial March play from your desk because your AI coding assistant needs to ask you a question.
Get Started
The complete project, including all code, wiring diagrams, and documentation, is available on GitHub:
All you need is:
- $20 in components from AliExpress or Amazon
- 15 minutes for assembly
- 15 minutes for software setup
- A sense of maker adventure
Join the Community
I’d love to see what you build! If you create your own Claude Code Monitor:
- Share photos of your build
- Post your favorite melody combinations
- Contribute new animations or features
- Suggest improvements
This project is open source and meant to be remixed, extended, and personalized.
The future of AI tools isn’t just in the cloud or the terminal. Sometimes, it’s sitting on your desk, blinking a red LED and playing the Tetris theme to get your attention.
Now go build one. Claude is waiting. 🚨
Questions? Issues? Cool modifications? Open an issue on GitHub or share your build in the discussions!